

Text Detector Library in React Native.

In today’s generation where computers are replacing most of the manual and mental work with speed and accuracy, Text Recognition is one of the greatest achievements of Machine Learning. Driven by this intrigue, I tried my hand at building a simple application which employed Text Recognition and make it useful at the same time. Needless to say, with this React-Native app, you can experience one of the benefits of Text Recognition.
What can you do with this app ?
1) Scan images and parse text, urls or numbers. 2) Share, Edit or Replace text. 3) Copy Text to clipboard for global usage. 4) Save all of your text as files or memos. 5) Create your account and save your files on cloud. 6) Edit name of saved files or delete files
Tech Stack
React Native
React Native Camera
React Native Text Detector
Mobx State Tree
Native Base
React Native Firebase
React Native Share
ML Kit for Firebase
ML Kit is a mobile SDK that brings Google’s machine learning expertise to Android and iOS apps in a powerful yet easy-to-use package.
React Native Firebase
React Native Firebase eases the use of Firebase with React Native. It provides a light-weight layer on-top of the native Firebase SDKs (iOS & Android) giving the same functionality of the Firebase Web SDKs API as closely as possible.
But React Native Firebase’s version v5.x.x does not support the use of ML Kit. It is currently in testing mode and lacks proper documentation. An improved version will be released in v6.0.0.
More information can be found in the following link: ✨ v6.0.0 ✨ · Issue #2025 · invertase/react-native-firebase Hey everybody 💛 Super excited to announce that we’re just over halfway through our v5 -> v6 migration + overhaul, and…github.com
Why not use Firebase ML Kit directly?
As Firebase does not give support of ML Kit with Web SDK and we can only use Web SDK with React Native, so it cannot be used directly.
Instead, we will be using React Native Text Detector library which makes the perfect use of Firebase ML Kit.
Setting up project in Firebase
You have to set up your project in Firebase and do some changes in your Android and iOS files. To keep the tutorial short, you can follow the following links for setting up Firebase and authentication… React Native Firebase — Simple Firebase integration for React Native Simple Firebase integration for React Native with support for 10+ Firebase modules including Authentication, Analytics…rnfirebase.io
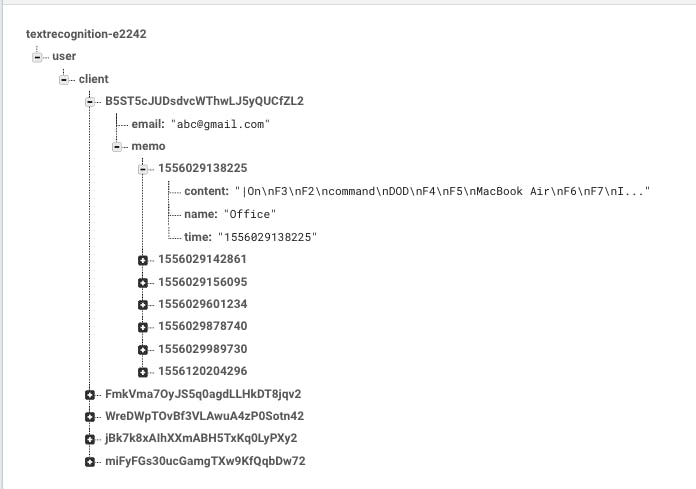
Your Firebase will look like this in future:
Making Login Screen
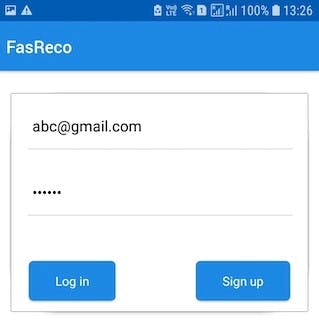
I will be making user model here for login and signup options. It consists of userid , email and email_text (for changing text in text input), password, error(for showing error as text),loading1 (for sign in) and loading2 (for sign up).
For sign up option, we will use createUserWithEmailAndPassword method. We will pass two parameters, one for email and the other for password. If the user already exists, we will throw an error that states user already exists. If the user is new, it will successfully create an account and generate a user ID in Firebase and set it in the database with email ID.
Similar process can be done with sign in.
Making Memo Model
Here, the name of your file or your memo will be in string. We will receive an array of strings from RN Text Detector and we will concatenate that array of strings and put only one string in our model. We will be using a time-stamp for making the key in Firebase unique and will also store it as ID inside the memo.
Now, you have to initiate all of your models in store.js file
Making Home Screen
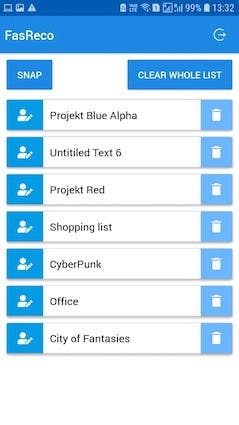
Now, in render screen, we will render a list of items if they exist in Firebase and create two buttons, SNAP for capturing the image and clear whole listfor clearing the whole list.
In the header bar, there will also be a logout button.
In the fetchList function for fetching the list of items, we will get a reference to the database corresponding to user ID and we will take a snapshot of that data and run for loop to push our data into the list.
I have used Flatlist for rendering items in a row and while rendering items, I am also setting the ID of the items dynamically, so that, on deleting the particular item, if the ID of other items is not changed it will give array index out of bound error.
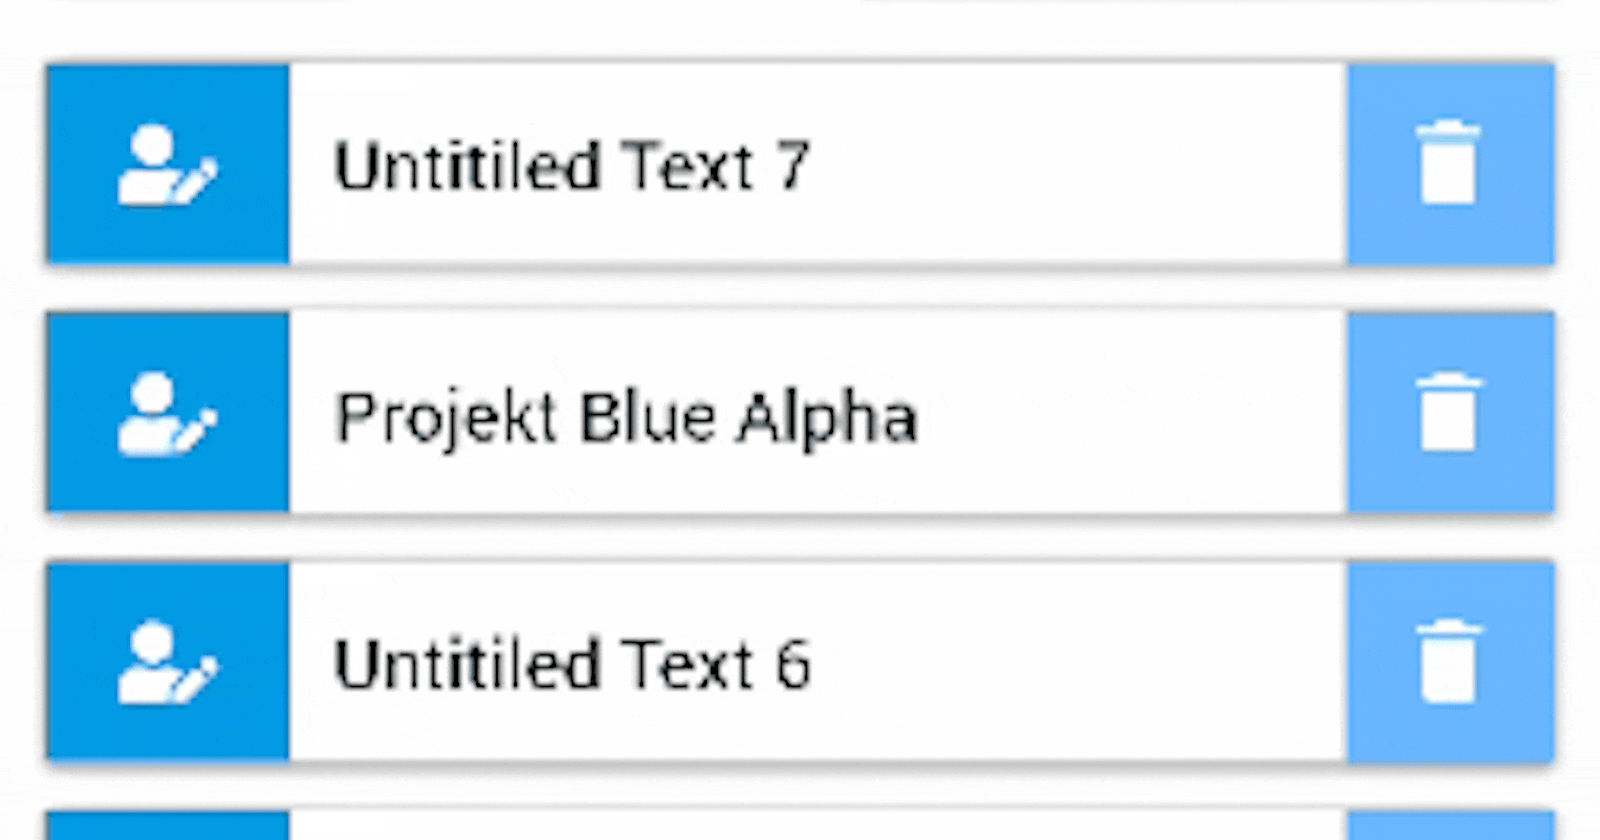
Each item of the list will also have buttons on both ends. Edit for editing the Title of your file or memo and Delete for deleting the item from your list. The same changes will also be reflect in Firebase.
Editing the memo Name
Here, we will first get the user ID from parent store and then according to the time key (time stamp), we are updating the name of our file.
Deleting the memo File
A similar process can be done, by getting the index of the particular item to delete it and we will use the remove function of Firebase.
Making Camera Screen
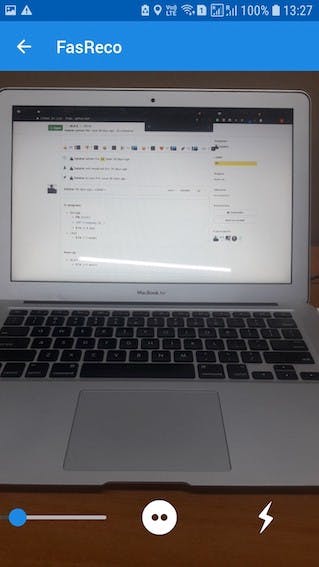
We will be using React Native Camera library. I have used props like flashMode, autoFocus and zoom as per project requirements. There are many other props available also. For more information you can visit the official documentation of React Native camera.
I have also defined permissions for Android inside of this component.
And add flash function for flash button and takePicture function for capturing and processing the images.
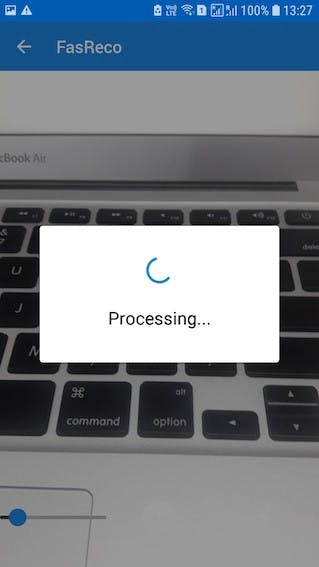
TakePicture function is an async function where, on pressing the button, the takePictureAsync function will take the picture according to the optionsprovided and the detectFromUri function will process that image and filter out the text from it. We are going to put that array of strings into the array of memo files.
Making Memo View

Memo View will show the content of file and on the header it will also show the name of your file. You can edit the content of your file, copy the text to clipboard and also share your content through other apps.
Copying Text to clipboard
We will use async function for copying text to clipboard and you can import clipboard from react-native library. This will copy text to the clipboard and you have to place this function in onPress prop of button of your view.
Sharing Text
Just define the share options in your render function and you have to use Share.shareSingle function in onPress prop of button which will send your content to any external app. I have made a share option for Whatsapp but you can define it for other applications as well using the same procedure.
Editing Memo View
After navigating to Edit view, the user can edit the content and afterwards save the content. For editing the content, the user has to show the content in the Textarea component by React Native by setting the value of Textarea to memoStore.memoArray[index].content using setState in componentDidMount.And by passing the string as an argument to saveContent function the content is updated by Firebase update function and same thing is changed instore.js file.

Rendering the item in our Edit view…
And that’s it we are done with making our app.
You can check out the entire code of this App here: vikrantsingh123/TextRecognition TextRecognition app. Contribute to vikrantsingh123/TextRecognition development by creating an account on GitHub.github.com
I am Vikrant Singh, Software Developer Intern at GeekyAnts and creator of this Text Recognition React Native App.
I’d like to thank Ruchika Gupta (@ruchikasjv) for mentoring me for this project and helping me wherever I needed it.
Thanks for reading 😄 Please 👏 if you liked this article.